Ah O my Gosh! How to hook rugs? This question or thought may look like a nightmare, right? If you have not had a rug’s hooking background before. But don’t worry it’s not a scary thing rather it is very interesting and by following a few simple guidelines, you will be able to hook your first rug very easily.
Hand-made entities, clothes, and tufted rugs always fascinate us more than machine-made things. Because hand-made things are the proof of our expertise and hard work and satisfy our inner-self, whenever we look towards them.
It is an eco-friendly process in which old clothes or fabric can be recycled. So In this article, we will teach you interestingly and easily how to hook your first rug. So Thank us Later and get started.
What is a Hooked Rug

These are tapestry-style rugs in which loops of yarn or fabric are pulled through a strong base fabric like burlap, linen, or rug wrap. These rugs come in different variations from simple hooked rugs to complicated hooked rugs.
How to Hook Rugs as a Beginner
Do not be confused, it is an interesting process once you learnt it accurately.
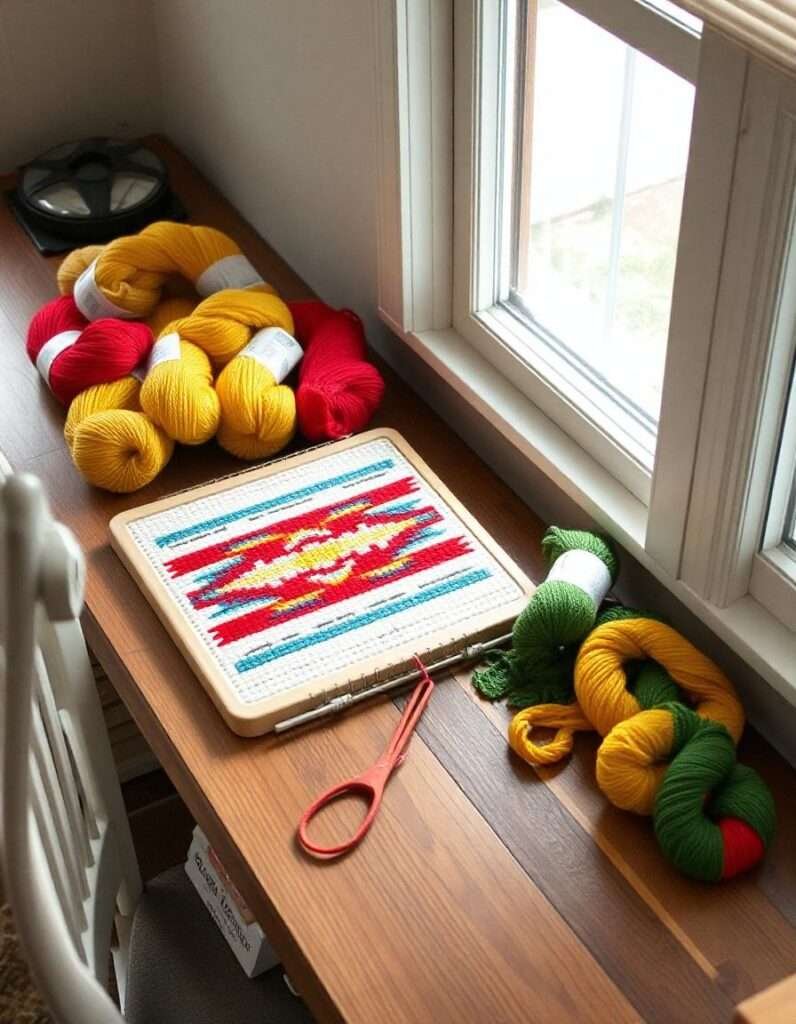
Tools
- Latch Hook
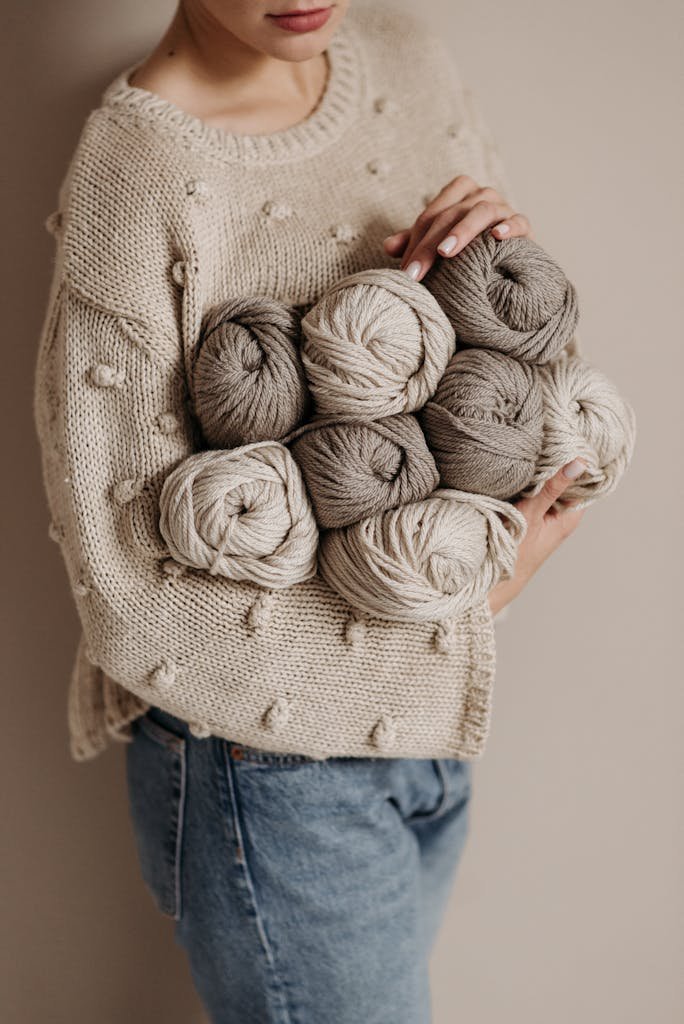
- Yarns of desired colors
- Quilting hoop
- Burlap with a drawn pattern
In Denmark’s rug-making history of the 1930s, you can not forget the name of Ernest Thomsen, a Danish man. This man improved the knitting tools and launched a new rug hooking tool called the Aladdin Carpet Tool.
Due to this tool, rug makers were able to do their jobs faster and with less pain in their hands and arms. This tool turned into a new name Danella Rug Hooking Tool in the 1950s.
In the market, there is a rug hooking kit that contains all the things to hook a rug that you require. Just go and get one for yourself. Also, buy an extra hooking latch or needle.
Get Started
Follow the below steps cautiously for rug hooking.
Fastening in the Frame
Take a piece of burlap/wool on which a design is drawn. Tight it in the quilting hoop, so it remains still and you can knit any design over it easily.
Start from the bottom
Always start from the bottom, if you are left-handed, start from the right bottom corner. keep your hooking latch at the bottom of the burlap and widen that point by using the pressure of your fingers and thumb on the latch. Do not use your wrist while widening the hole, it will save you from future wrist pain.
Widening the Hole
As wider your hole will be, the easier for you to pull the strip up. Because it won’t create any friction or resistance on the loop of yarn. Due to friction, the wool loop can be damaged. Put your fingers beneath it to give it support.
Now go down and pull the fabric up strip by strip, it’s that simple.
Another reason for widening the yarn is if you do not widen it properly, you will be begging your yarn like “Hey loop, please come up, please come up (LOL)”
So just work along your pattern row by row by widening the hole and pulling the yarn up, you will complete your whole rug in a few days. Evenly loop all the remaining ends of wool yarn in one place.
Cut the Fabric
Once your rug is done, with the help of scissors, leave just two inches of fabric around the pattern and cut all the excessive burlap. You can use this excessive fabric to strengthen the back of the rug by sewing it from the back or you just can glue the back of the rug and then use a canvas to hide it. It is all up to you.
Iron your rug
The last step is to press your rug with a wet clean cloth and then iron it. Your rug is ready to use.
Also Read: How to Clean Flokati Rug: Step-by-Step Guide
FAQs
Conclusion
We try our best to give you the easiest method and tips on how to hook rugs. And we are sure now you can take your first step towards hooking rugs. As knot size is the crucial part of Oushak rugs, similarly widening the hole and base material are the foundation of Hooking rugs.
When you are all done with your rug hooking, press it by using iron. In the beginning, it will look so hard, but don’t stop and keep going until you finish it. Keeping going is the ultimate step towards success.